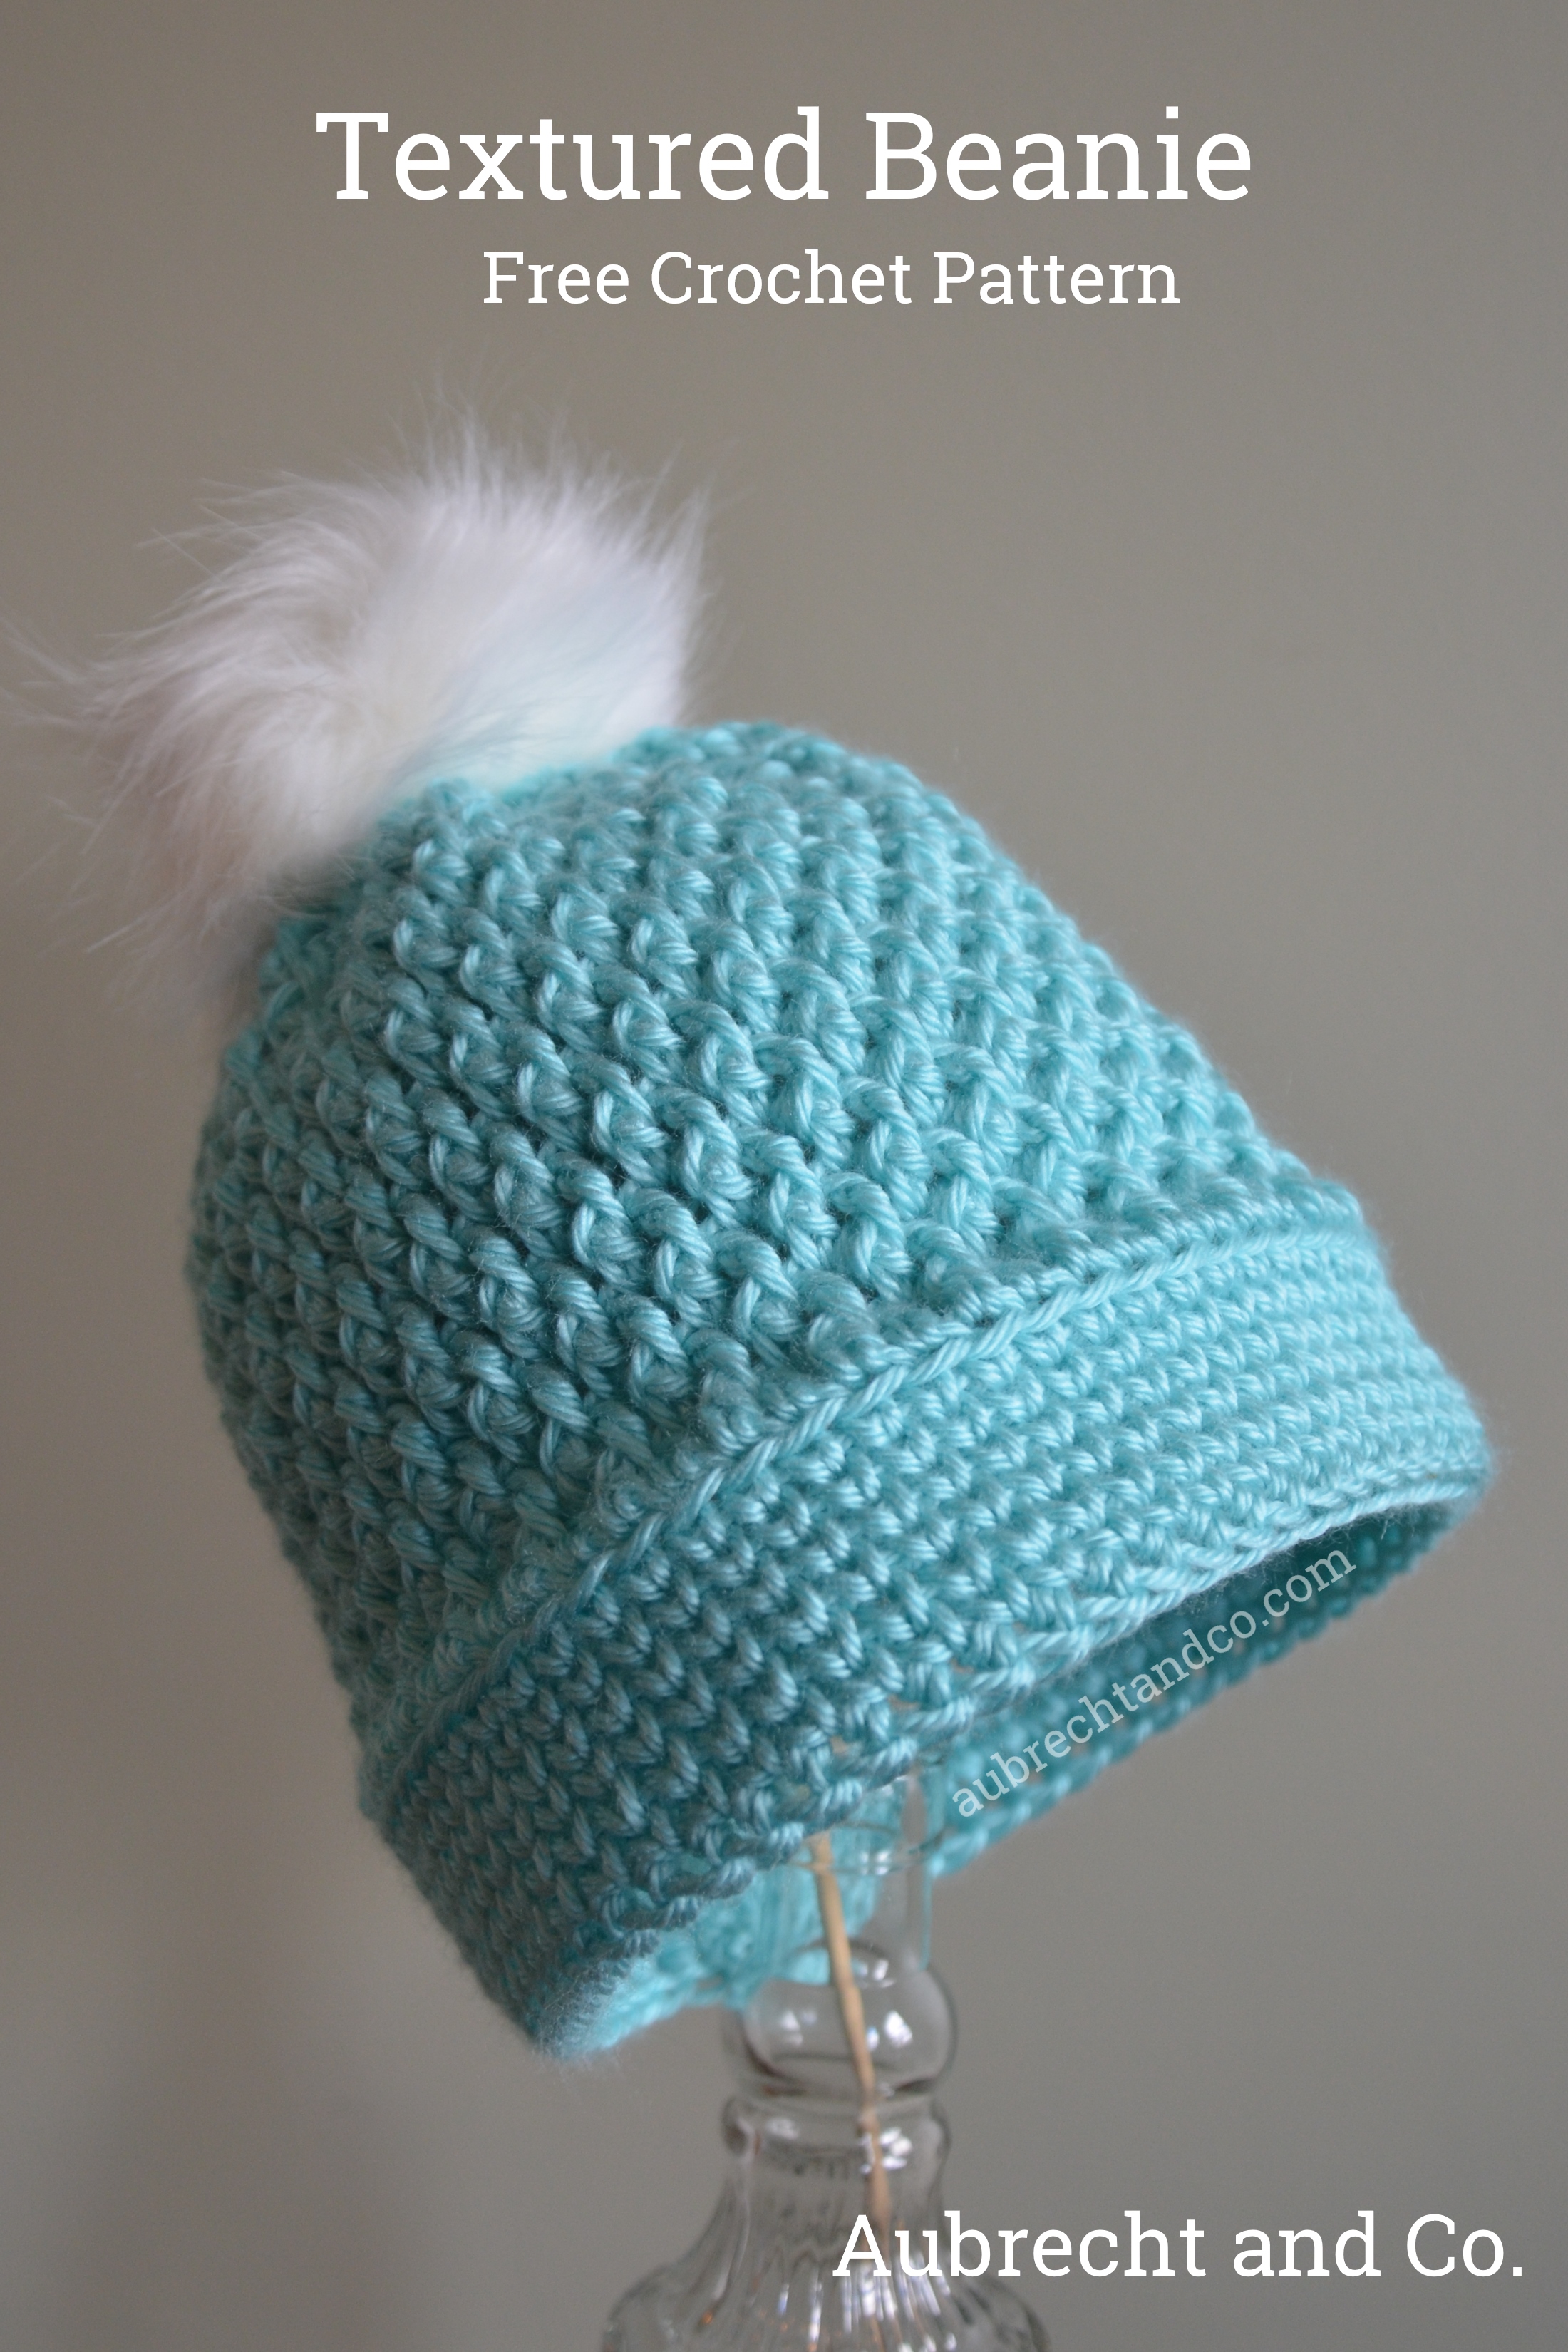
Textured Beanie
This Textured Beanie is made by alternating double crochet and front post double crochet stitches to give a unique texture. Sizes are written for adult and child, but can be modified to fit any head using any combination of even stitches. This is an easy pattern great for a beginner crocheter.
Free pattern is posted below or visit my Etsy Store to purchase a printable PDF pattern.
Materials:
Yarn: 100 yards, worsted weight yarn (weight 4) - shown in Caron Simply Soft yarn, Color: Robin’s Egg
Hooks: H/5.00mm
Faux Fur Pom Pom - I recommend these because you can remove the pom pom prior to washing
Yarn needle
Abbreviations:
blo - back loop only
ch - chain
dc - double crochet
dc2tog - double crochet two together
fpdc - front post double crochet
fsc - foundation single crochet
sc - single crochet
sk - skip
sl st - slip stitch
st - stitch
wc - waistcoat stitch, aka knit stitch, or center single crochet stitch
Gauge:
7 dc = 2”; 3 dc rows = 2”
Instructions:
Note that the stitch count includes the starting chains.
For an adult hat (child size recommendations below):
Row 1: fsc 64 st, sl st into the first st to form a ring. Do not twist. (64)
Row 2: ch 1, sc in each st around, sl st into the top of the ch 1 from the previous row. (64) - work the sc loosely for best results.
Rows 3-6: ch 1, wc in each st around, sl st into the top of ch 1. (64) - work the wc loosely for best results.
Brim of hat shown using the waistcoast stitch.
Row 7: ch 3, then work a dc in the blo of each st around, sl st into the top of the ch 3 from the previous row. (64)
Row 8: ch 3, *fpdc in the next st, dc in the following st*, repeat * around the hat, ending with a fpdc, then sl st into the top of the ch 3 from the previous row (64)
Row 9: ch 4, *dc in the next fpdc from the previous row, fpdc in the next dc from the previous row*, repeat * around the hat, ending with a dc, then sl st into the top of the ch 4 from the previous row. (64)
Row 10: ch 3, *fpdc in the next dc from the previous row, dc in the next fpdc from the previous row*, repeat * around the hat, ending with a fpdc, then sl st into the top of the ch 3 from the previous row. (64)
Repeat alternating rows 9 & 10 until the height of the entire work measures 8". Then, move onto the final row:
Final Row: ch 3, dc2tog around the entire hat, end with 1 dc. (32). Tie off end leaving a 12" tail.
Finishing: Turn the hat inside out. Weave the tail in and out through the dc2tog from the previous row. Cinch together to pull the top of the hat closed and tie off. Sew on the pom pom and weave in any other ends.
For a child size hat, I would recommend a stitch count of 58 (instead of 64 as shown in the adult hat) and working the repeated rows until the height of the entire work measures 7" before moving onto the final row.
For the perfect fit, use any combination of even stitches.
The finished top of the hat shown cinched together with the pom added.
Note: Please do not copy, redistribute, or sell this pattern or these photos as your own. Feel free to sell finished items made from this pattern, however, please give pattern credit to Aubrecht and Co.
Finished hats shown in Caron Simply Soft Party “Platinum Sparkle” and Caron Simply Soft “Black”.
