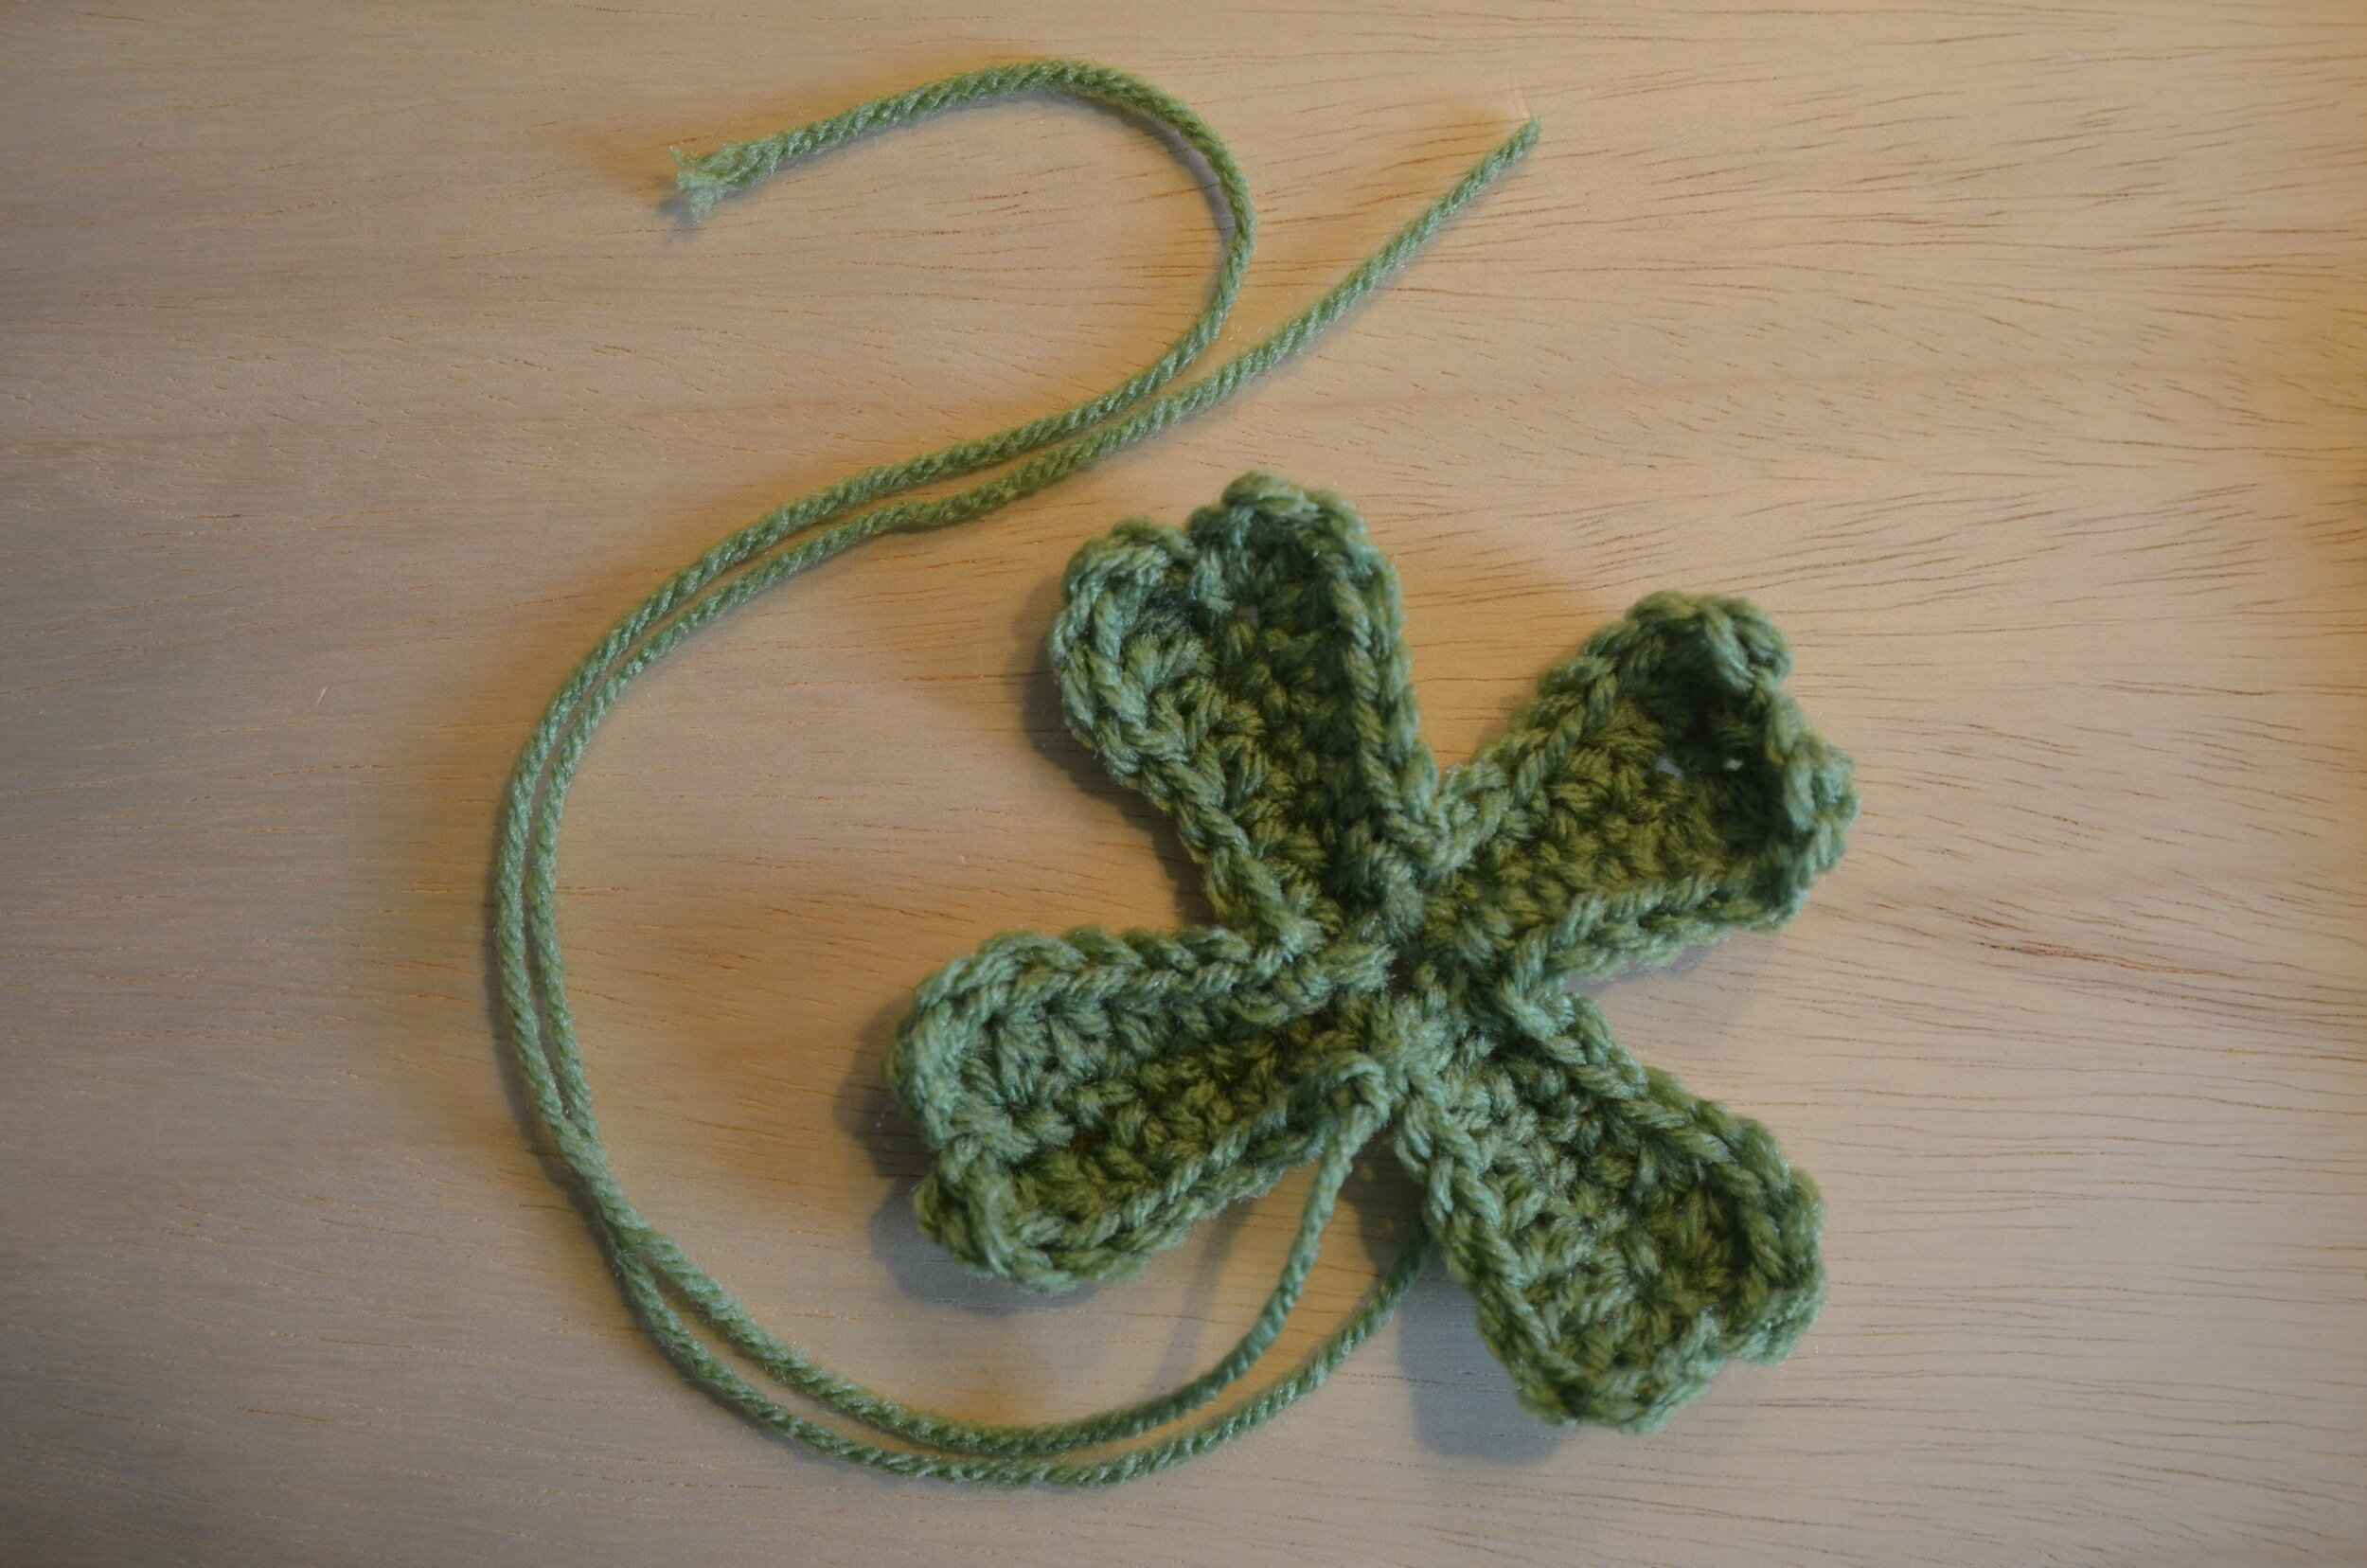
Kelly's Lucky Clover
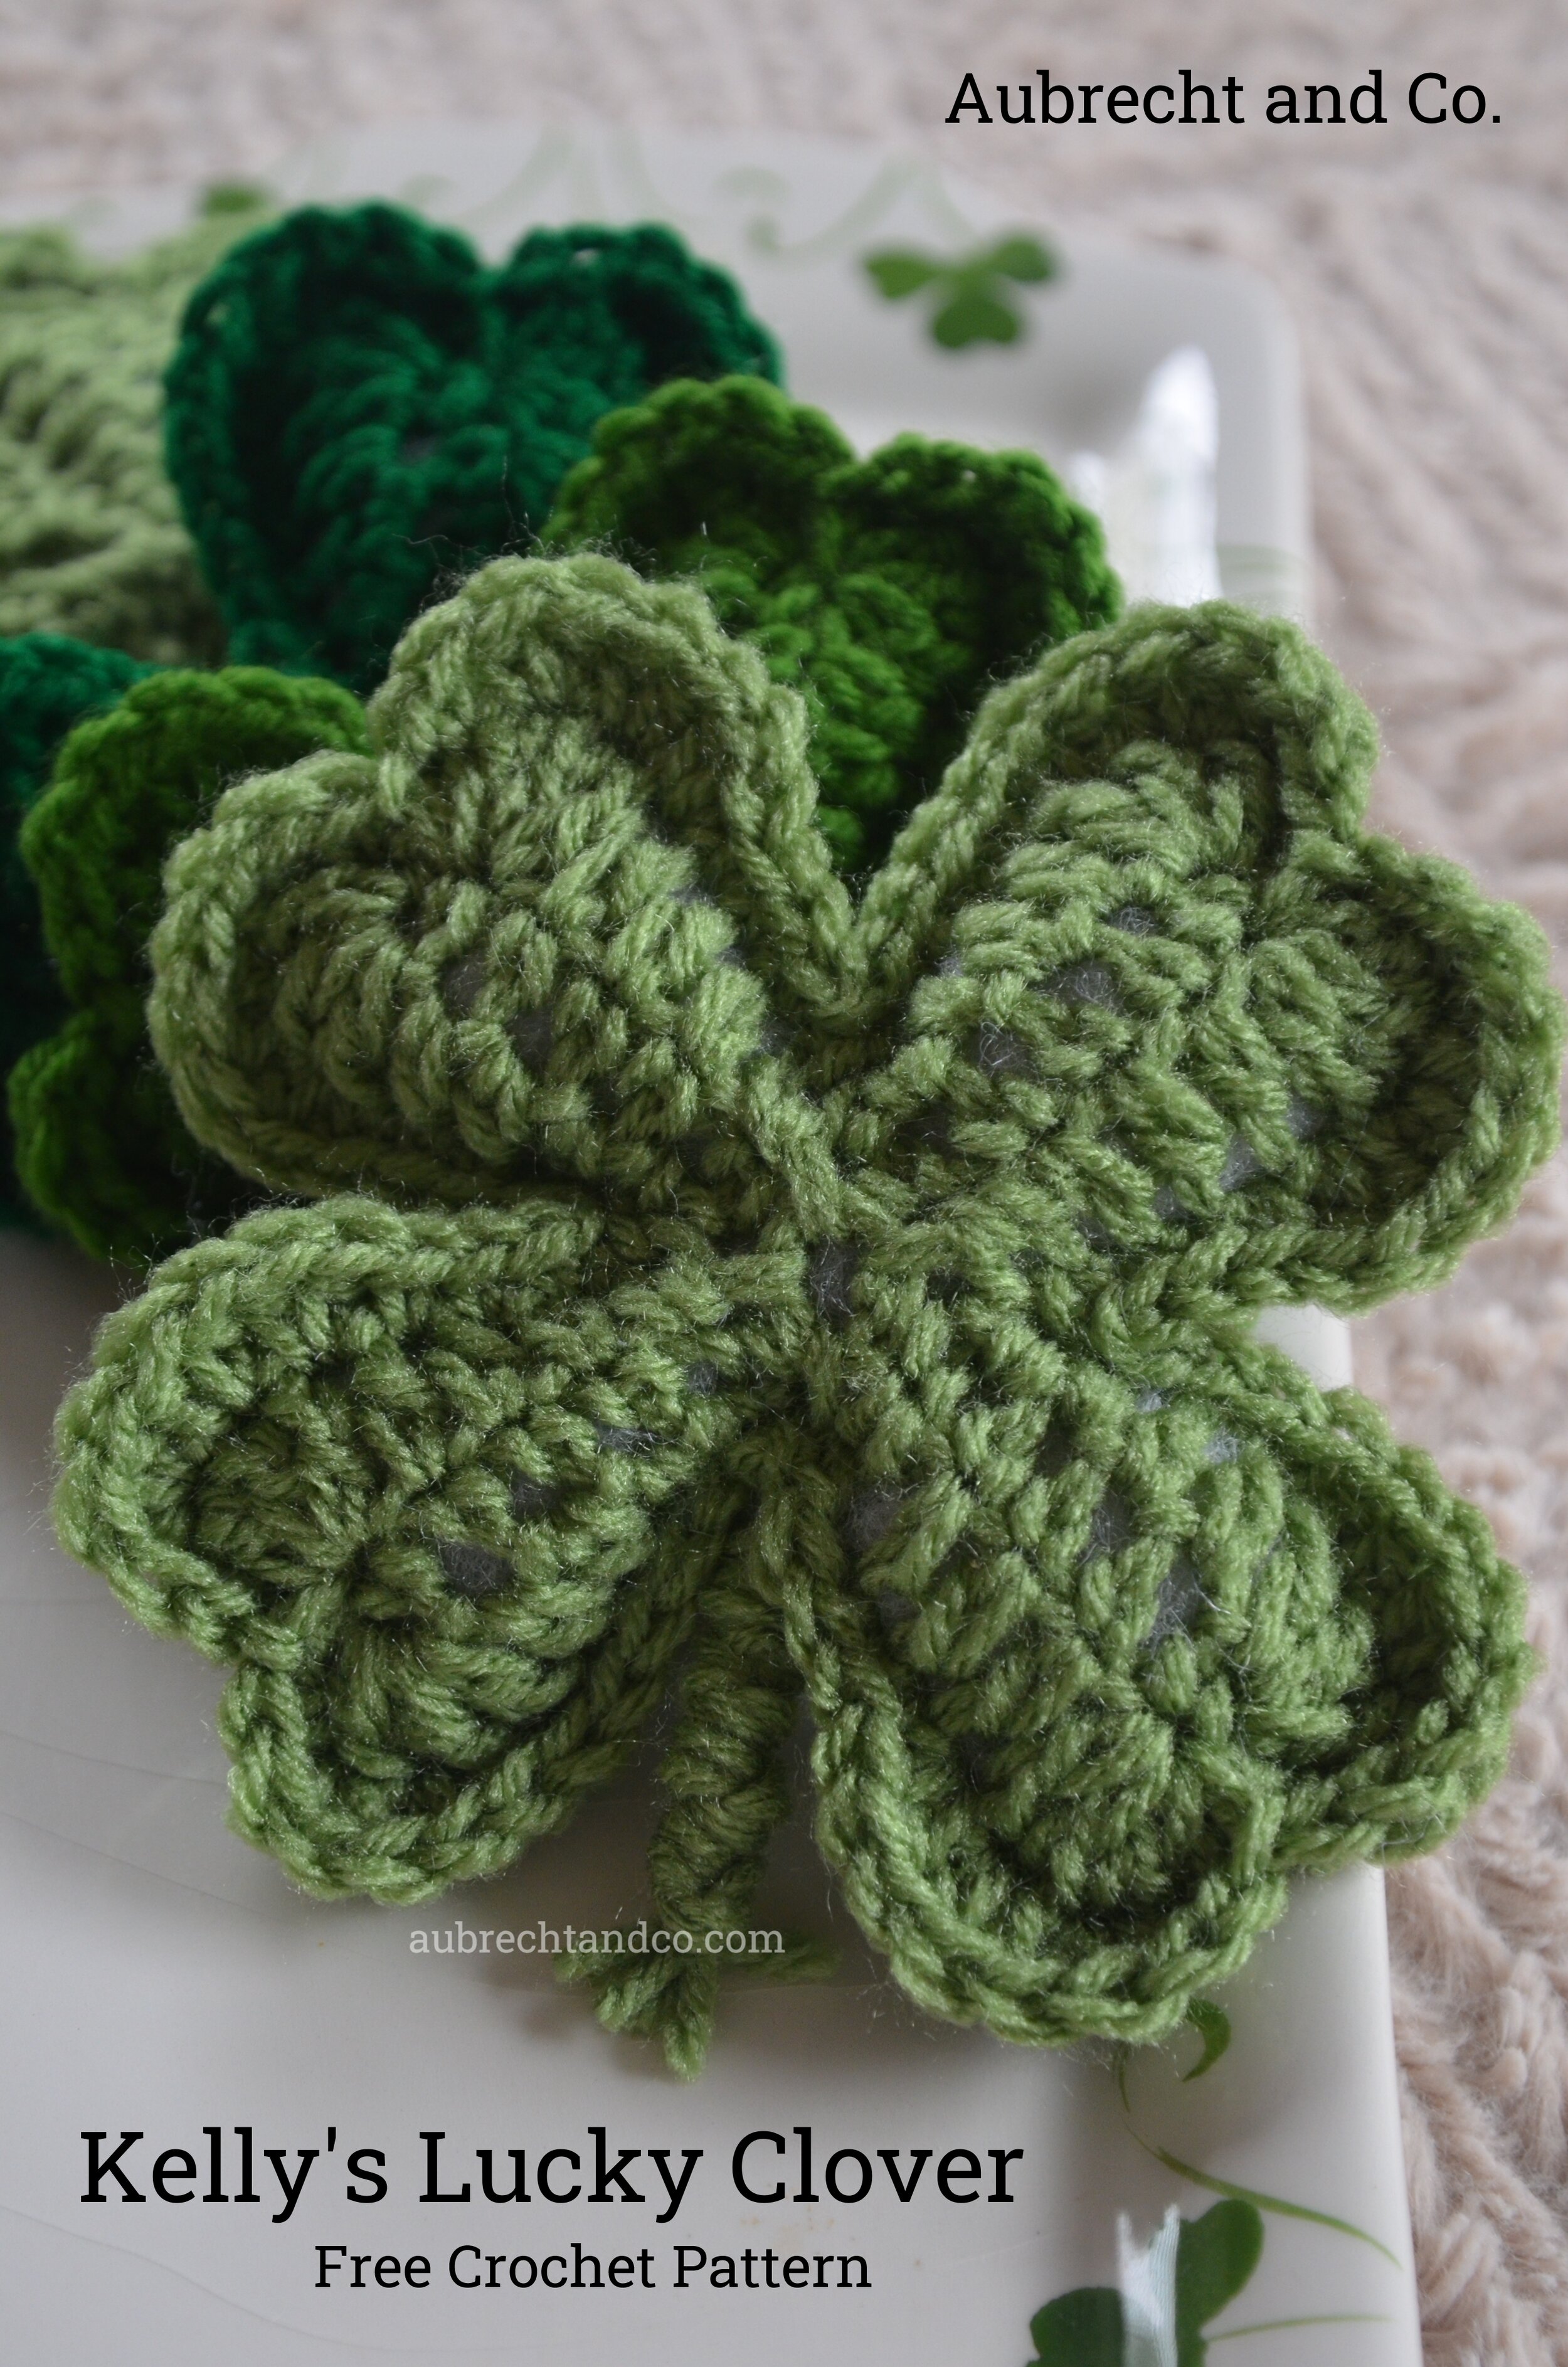
I’m always trying to create seasonal items for upcoming holidays. While searching the internet, I wasn’t finding what I wanted for St. Patrick’s Day. After some failed attempts, I finally came up with this clover pattern that I adore. You can create these little trinkets with 3 or 4 leaves. These clovers are worked in 3 rounds. The first two rounds, which you will make twice, create a front and back of each clover. The 3rd round joins the front and back together.
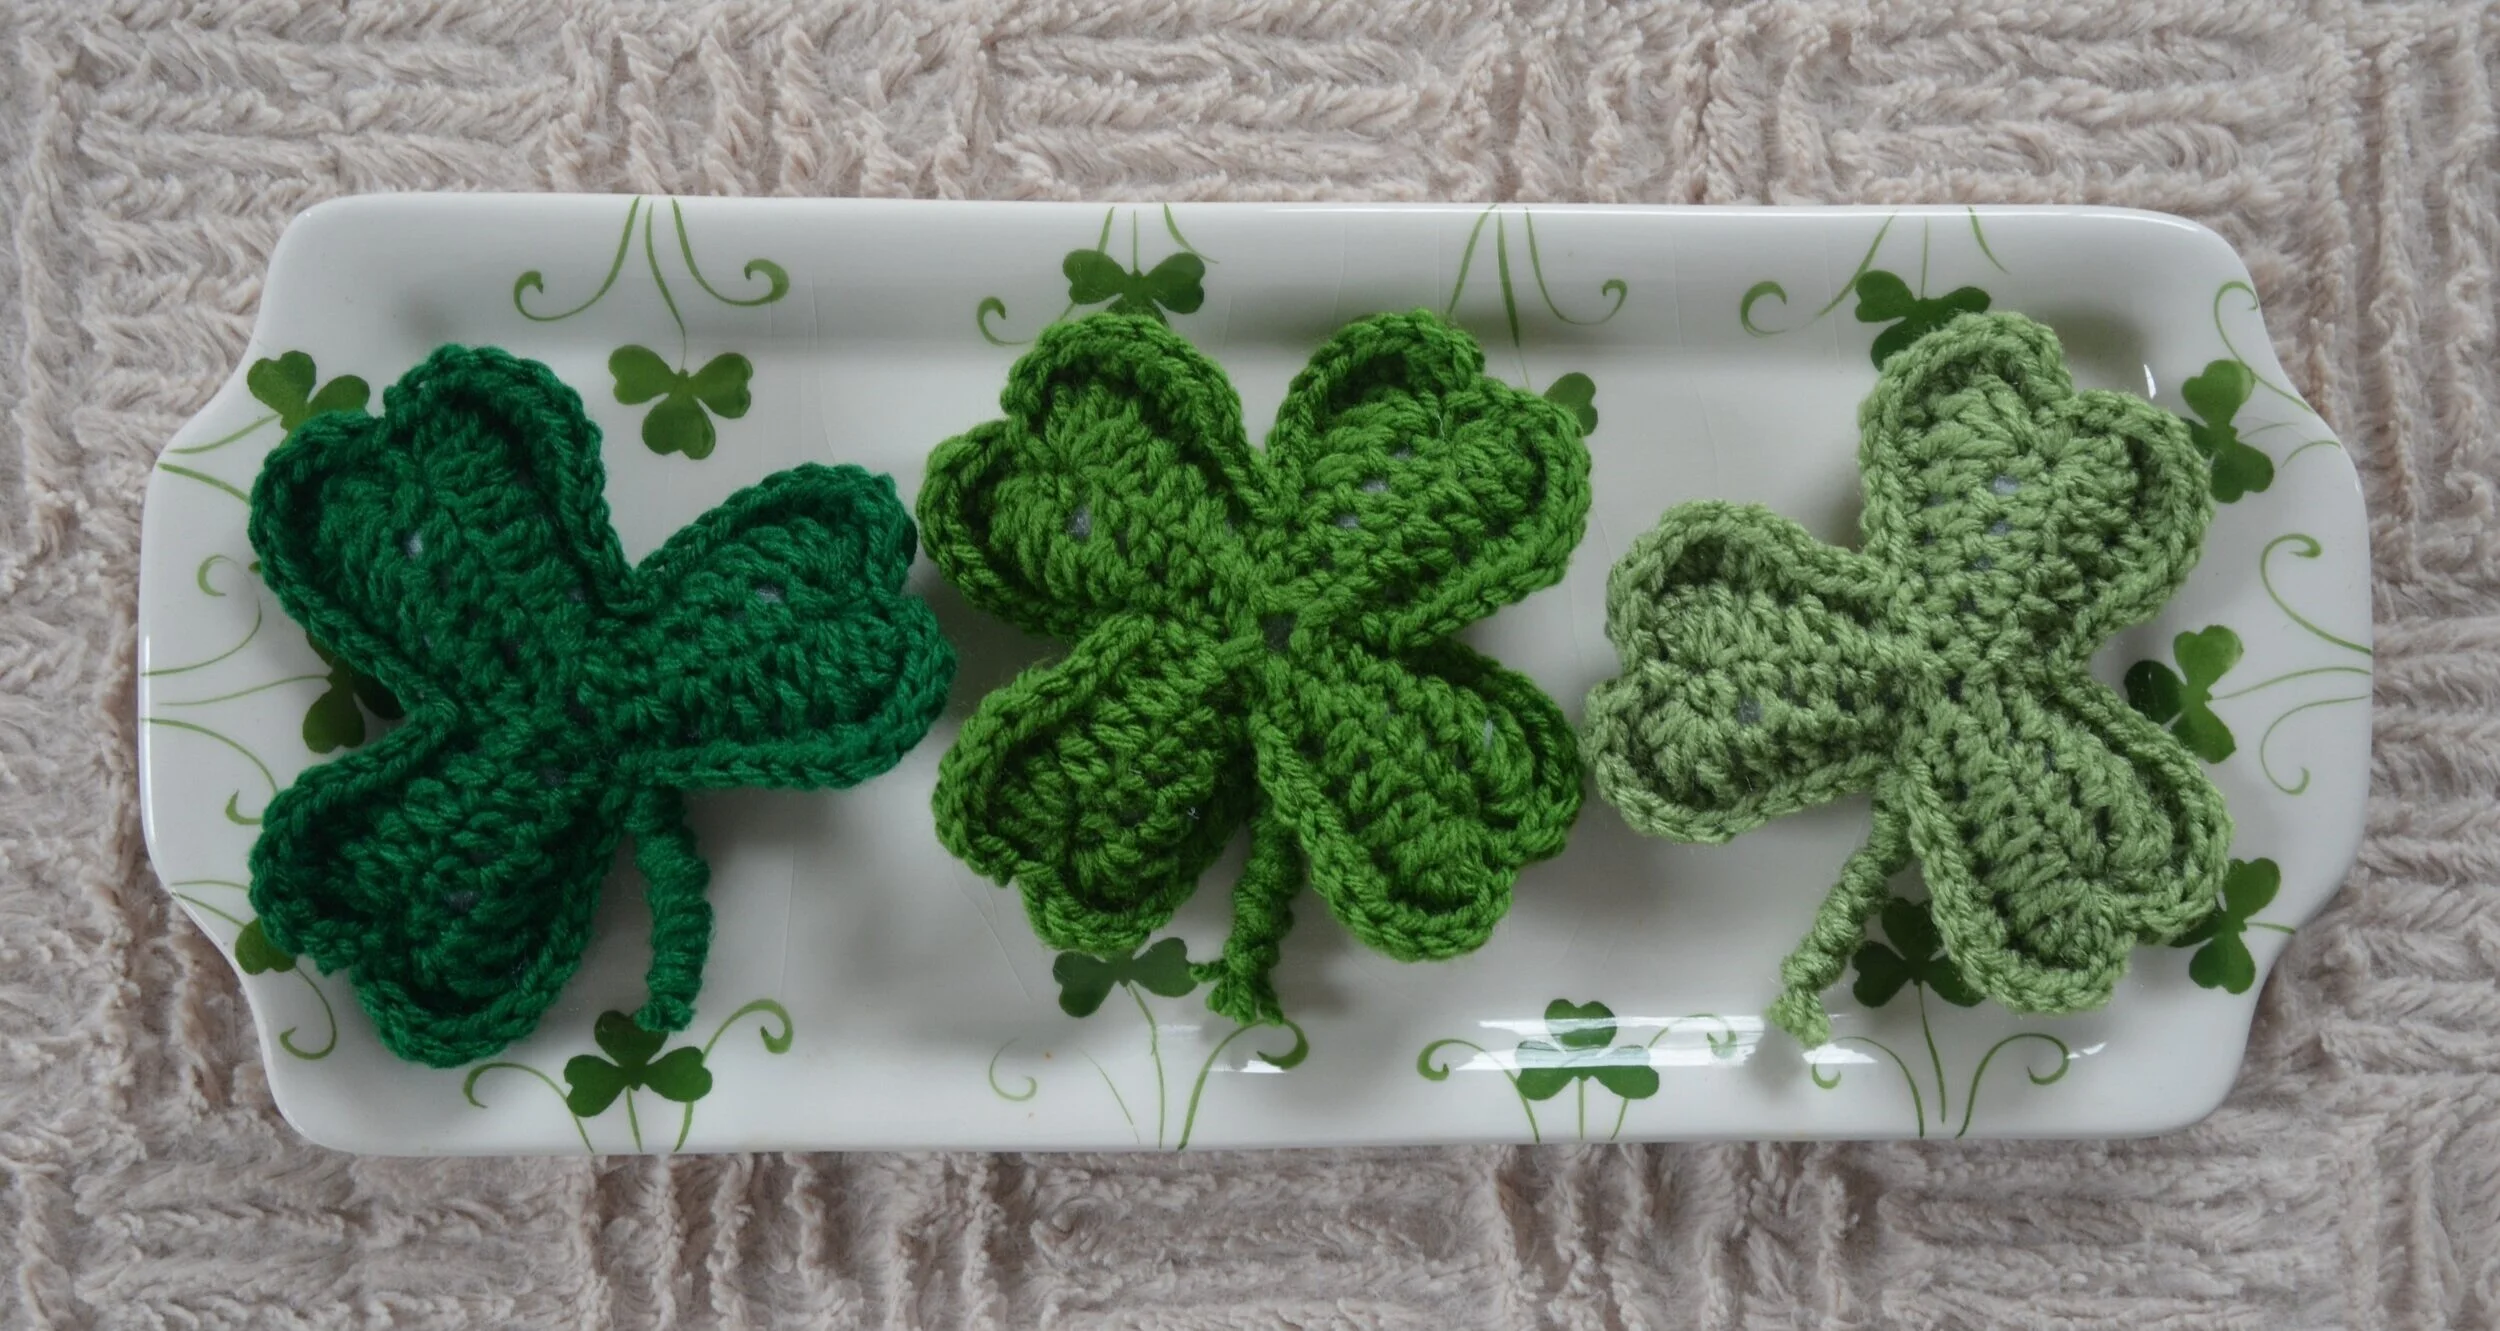
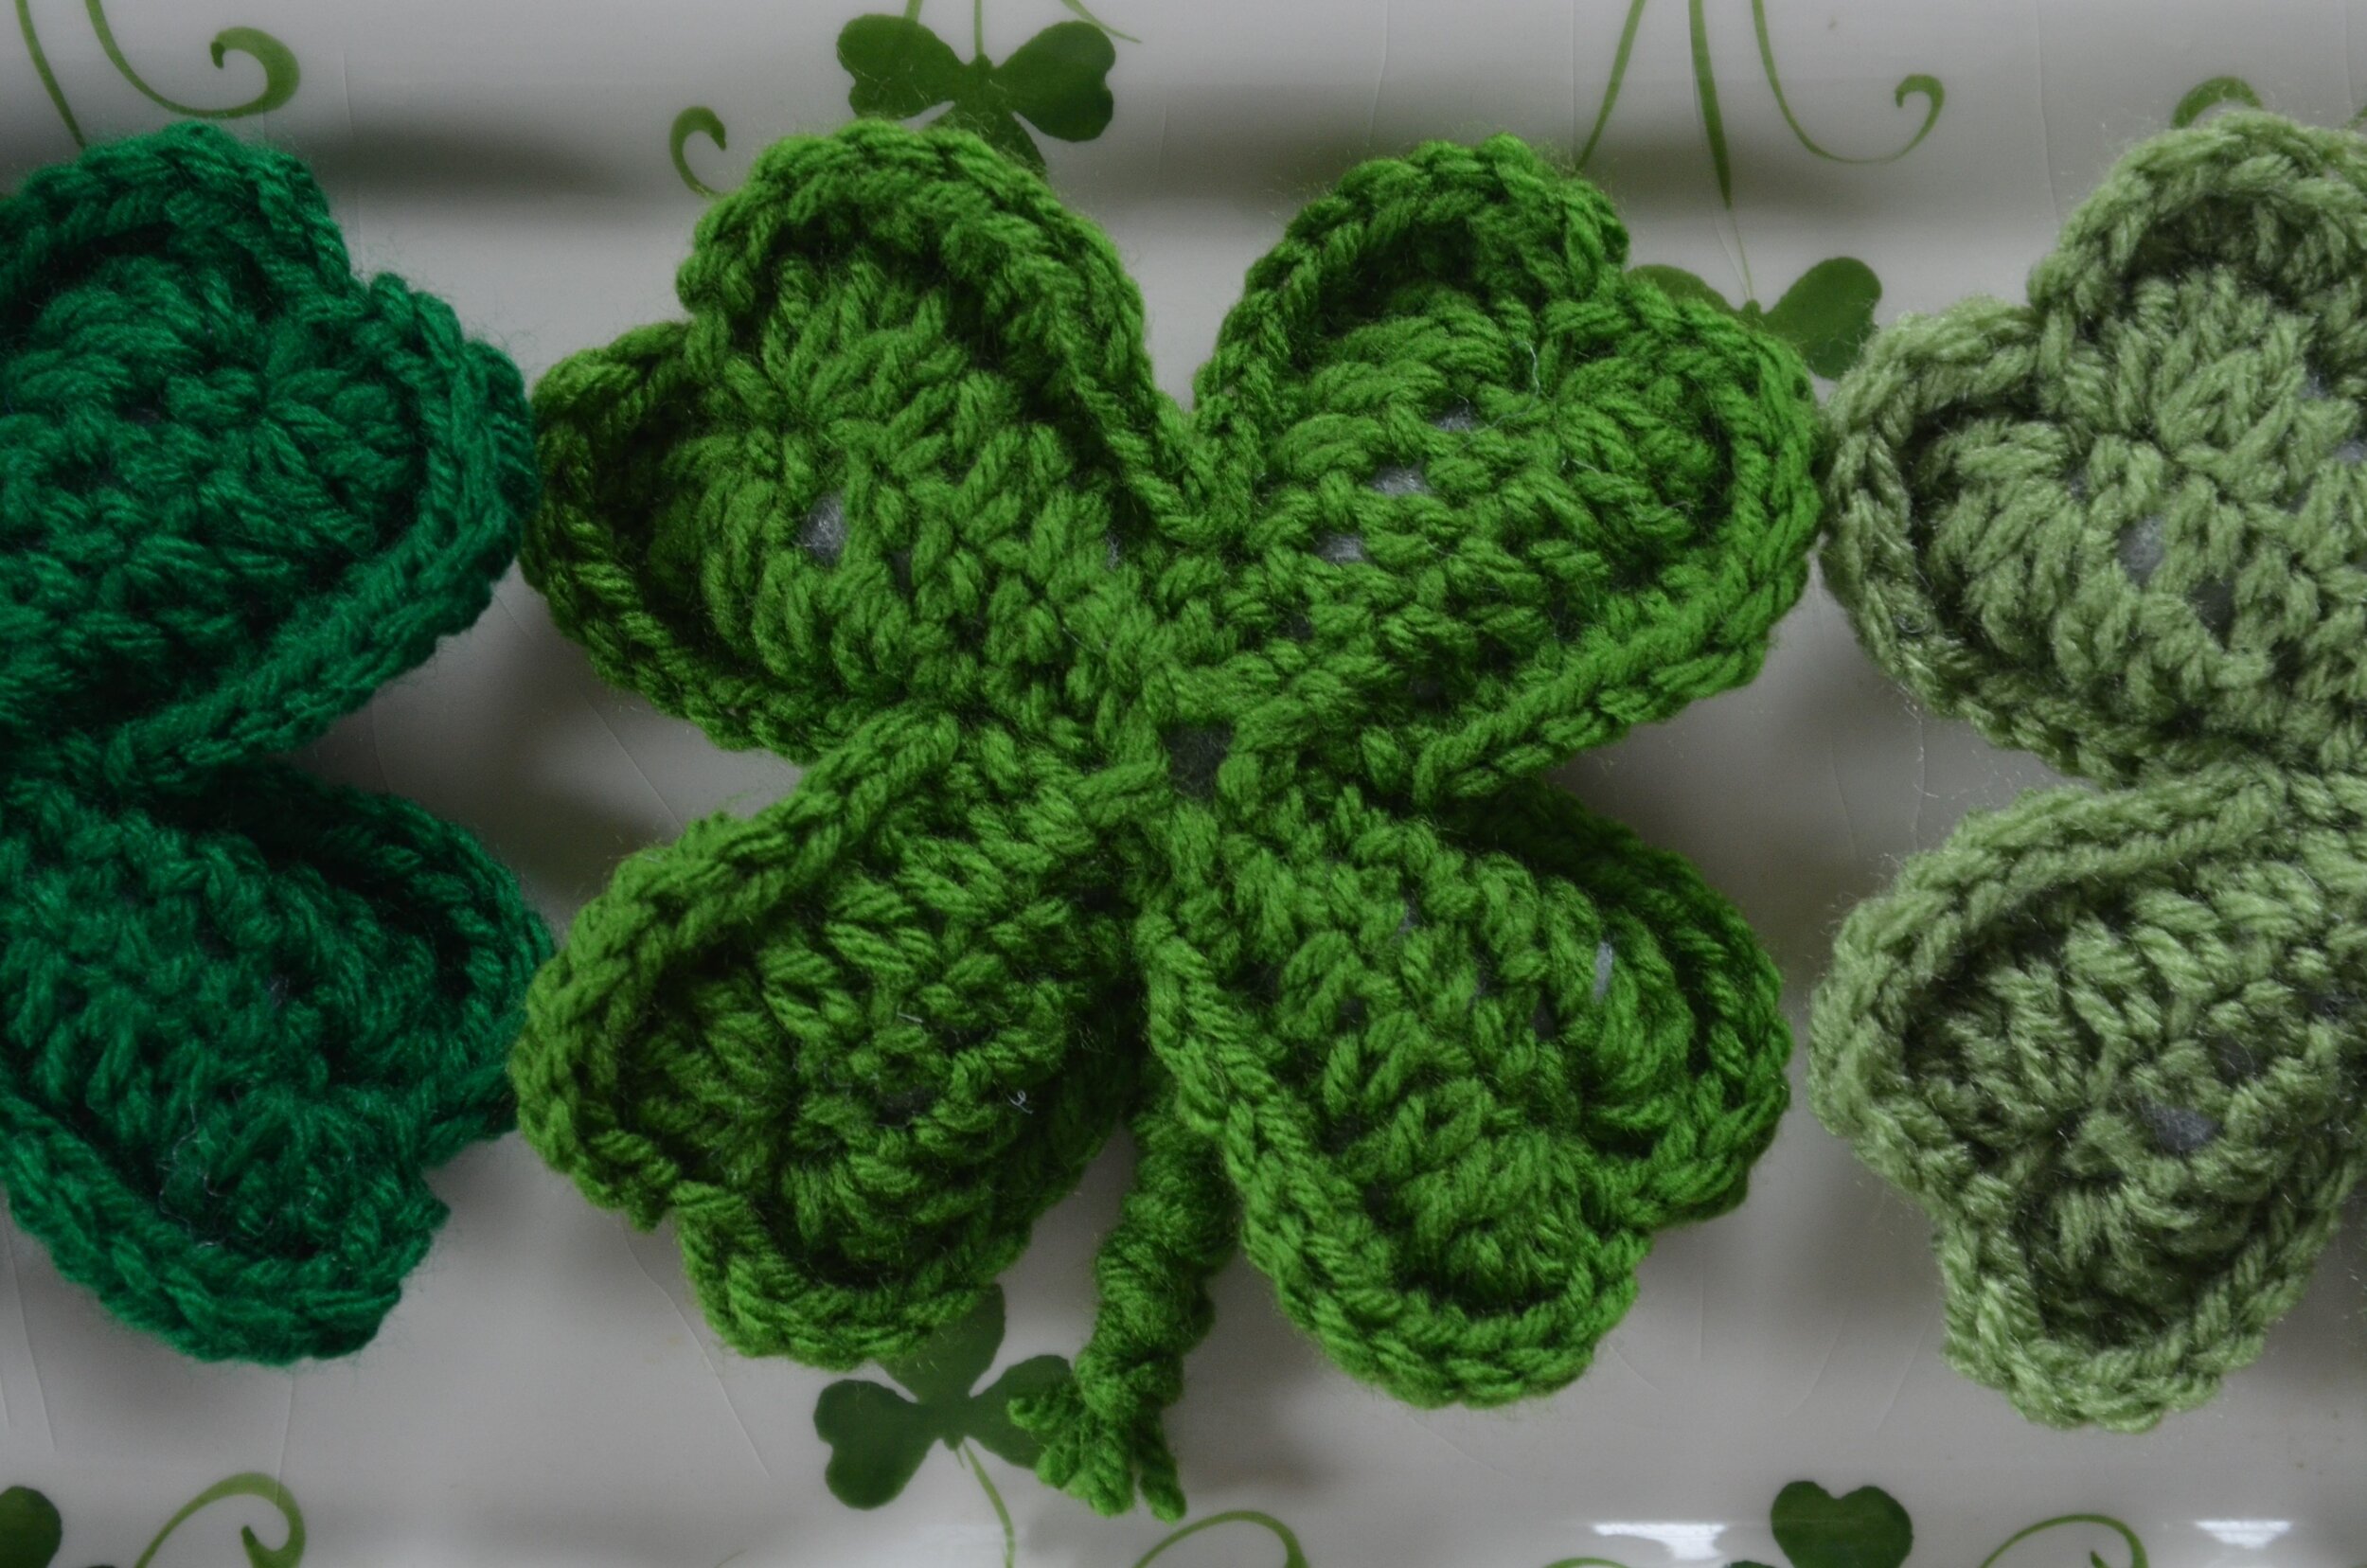
Three and four leaf clovers shown. From left to right, colorways: Big Twist Value “Varsity Green”, Big Twist Value “Forest Green”, and Red Heart Super Saver “Tea Leaf”.
Materials:
Yarn: worsted weight - cover photo shown in Red Heart Super Saver “Tea Leaf”
Hooks: H/5.00 mm
Abbreviations:
ch - chain
dc - double crochet
hdc - half double crochet
sc - single crochet
sk - skip stitch
sl st - slip stitch
st - stitch (s)
Gauge:
N/A; my finished clovers are approximately 5”.
Instructions:
Leaving ~12” tail, start with ch 3. Sl st into the starting ch to form a ring.
Round 1: *Continue with ch 6. In the 2nd ch from the hook, sc in each of the next 5 st working each sc into the “3rd loop” on the back of the chain stitches. Sl st into the center of the ring*. (you have now completed the base of the 1st stem). Repeat * 2 to 3 more times for a total of 3 or 4 stems = 3 or 4 leaf clover.
Center photo shows “3rd loop” of the chain.
Left: 3 leaf clover; Right: 4 leaf clover
Round 2: *Continuing in the same direction, sc in each of the next 2 st, hdc in each of the next 2 st, (3 dc, ch 1, sl st) in the next st. sk the sl st at the top of the stem. Working down the other side, ch 1, 3 dc in the top sc from the previous round, hdc in each of the next 2 st, sc in each of the next 2 st, sl st into the sl st from the previous round*. Continue this * pattern around each stem.
Placement of stitches for row 2
One leaf finished of row 2
One side complete. Make 2.
You will need to make 2 of these – a front and back. On the 1st clover made (back), tie off and leave a 12” tail. On the 2nd clover (front), do not tie off, but continue to Row 3 to seam the 2 sides of the clover together.
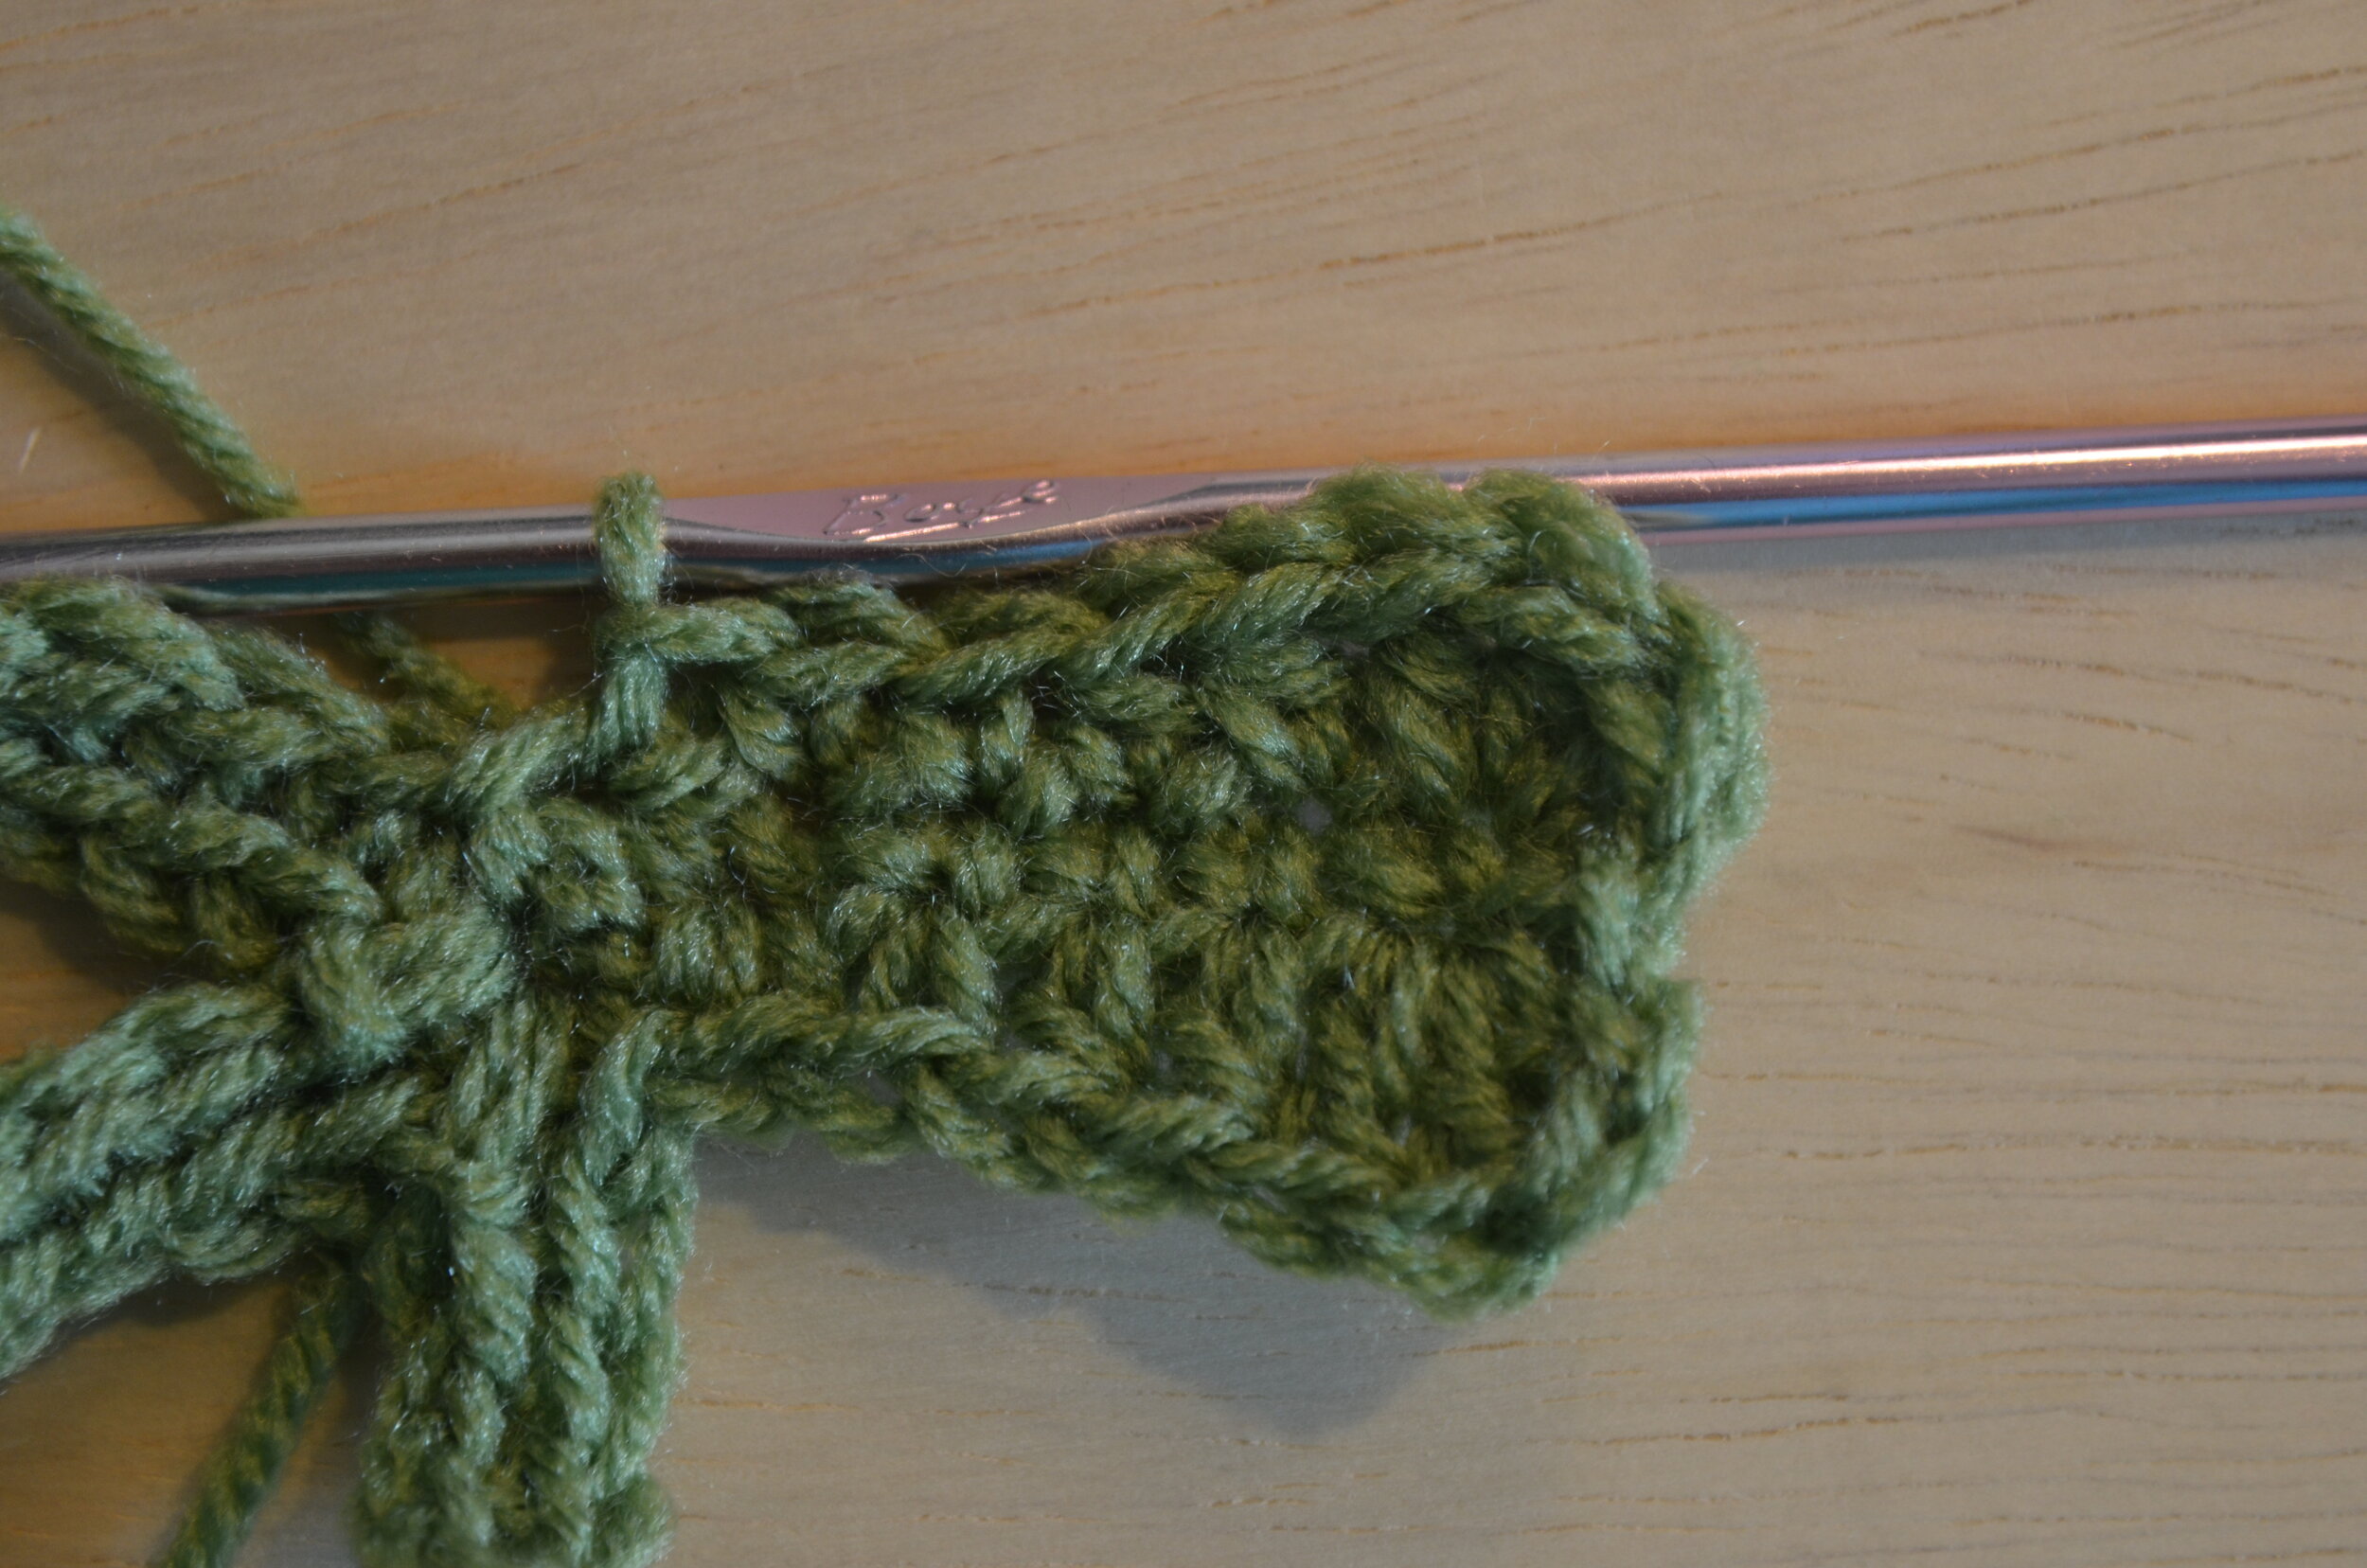
Round 3 (Seaming the front and back together): Working with the wrong sides facing in and the right sides facing out, and making sure the tails are all coming out of the clover, continue to stitch through both layers of the clover as follows: *sc in each of the next 4 st, 2 hdc in each of the next 3 st, sc in the next ch 1 st from the previous row, ch 1, then sl st into the center as shown below. Continuing down the other side, ch 1, sc in the next ch 1 st from the previous row, 2 hdc in each of the next 3 st, sc in each of the next 4 st, sl st into the sl st from the previous row* Lightly stuff each clover leaf as you go. Continue this * pattern around each stem, lightly stuffing each leaf as you go. I like to stuff the final leaf prior to the last 4 sc.
Start of row 3: seaming the 2 pieces together.
Placement of stitches for row 3
Leaf of row 3 complete
Lightly stuff each leaf. Stuff the final stitch prior to making the last 4 single crochet.
Tie off leaving a 12” tail.
To add thickness to the stem, I like to add 1 or 2 more strings to the group of tail strings. Do this by pulling a string through the bottom of the clover, where the other tails sit. Tie the strings around themselves with an overhand knot about 5 times to form a stem. Cut off.
Five knots form the stem.
Tip: You can leave off the stem and add a piece of yarn to hang these adorable clovers. I like to hang them on my door knobs throughout the house.
Hanging 4 leaf clover; 12” tails omitted throughout pattern.
Note: Please do not copy, redistribute, or sell this pattern or these photos as your own. Feel free to sell finished items made from this pattern, however, please give pattern credit to Aubrecht and Co.
